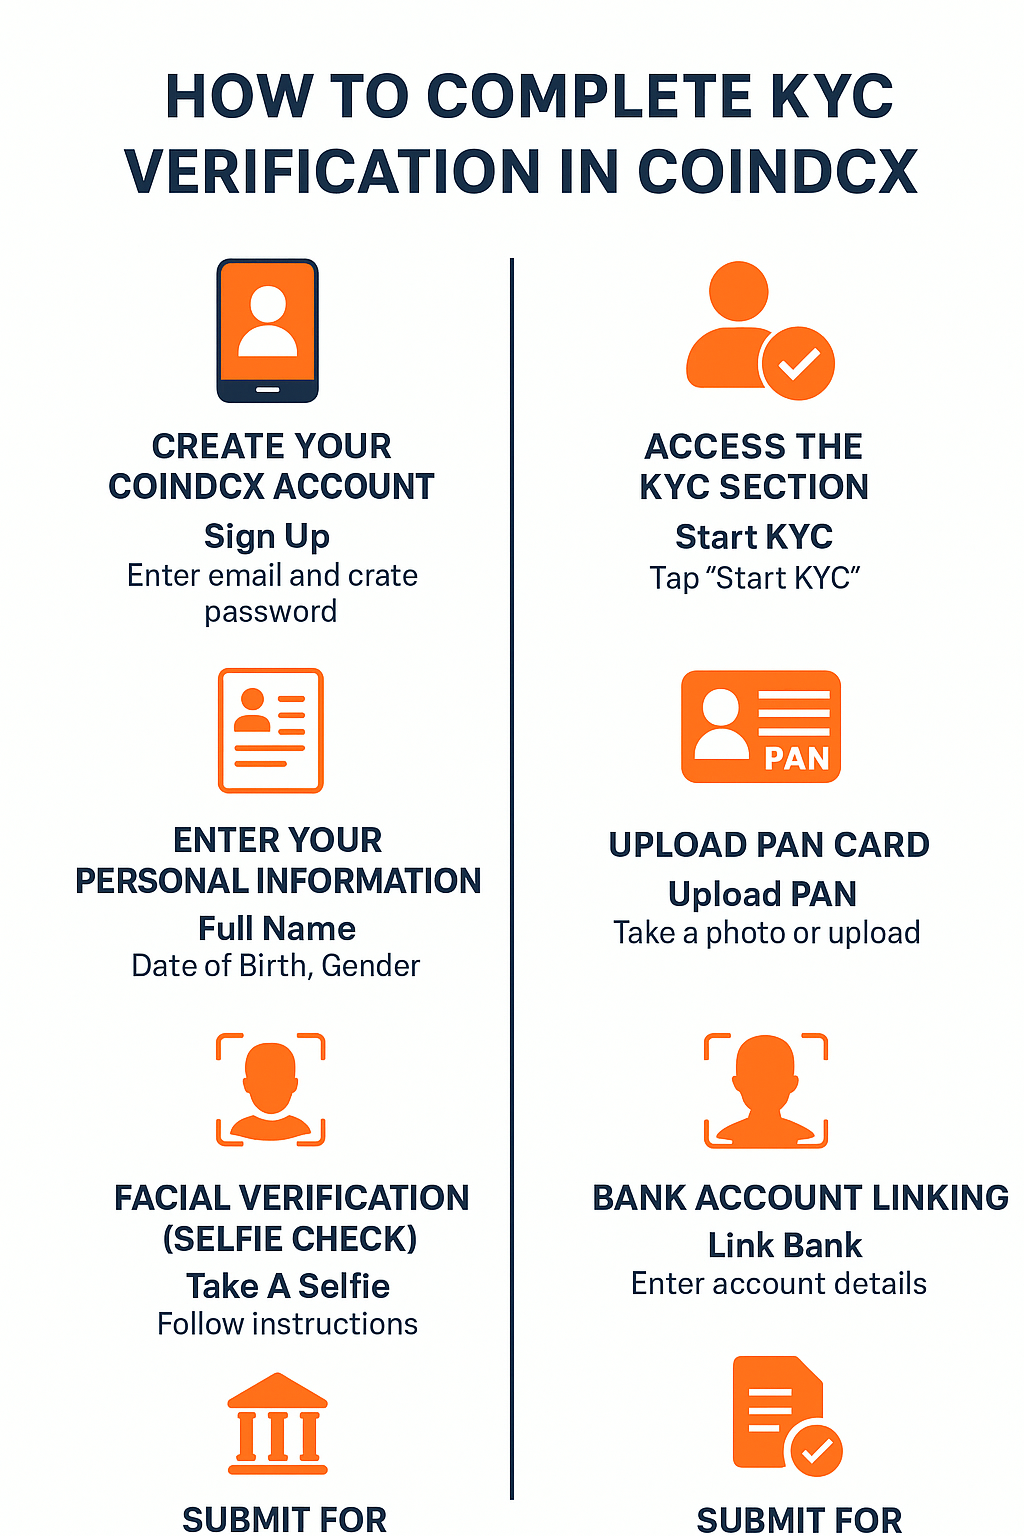
How to Complete KYC Verification in CoinDCX: Step-by-Step Guide.
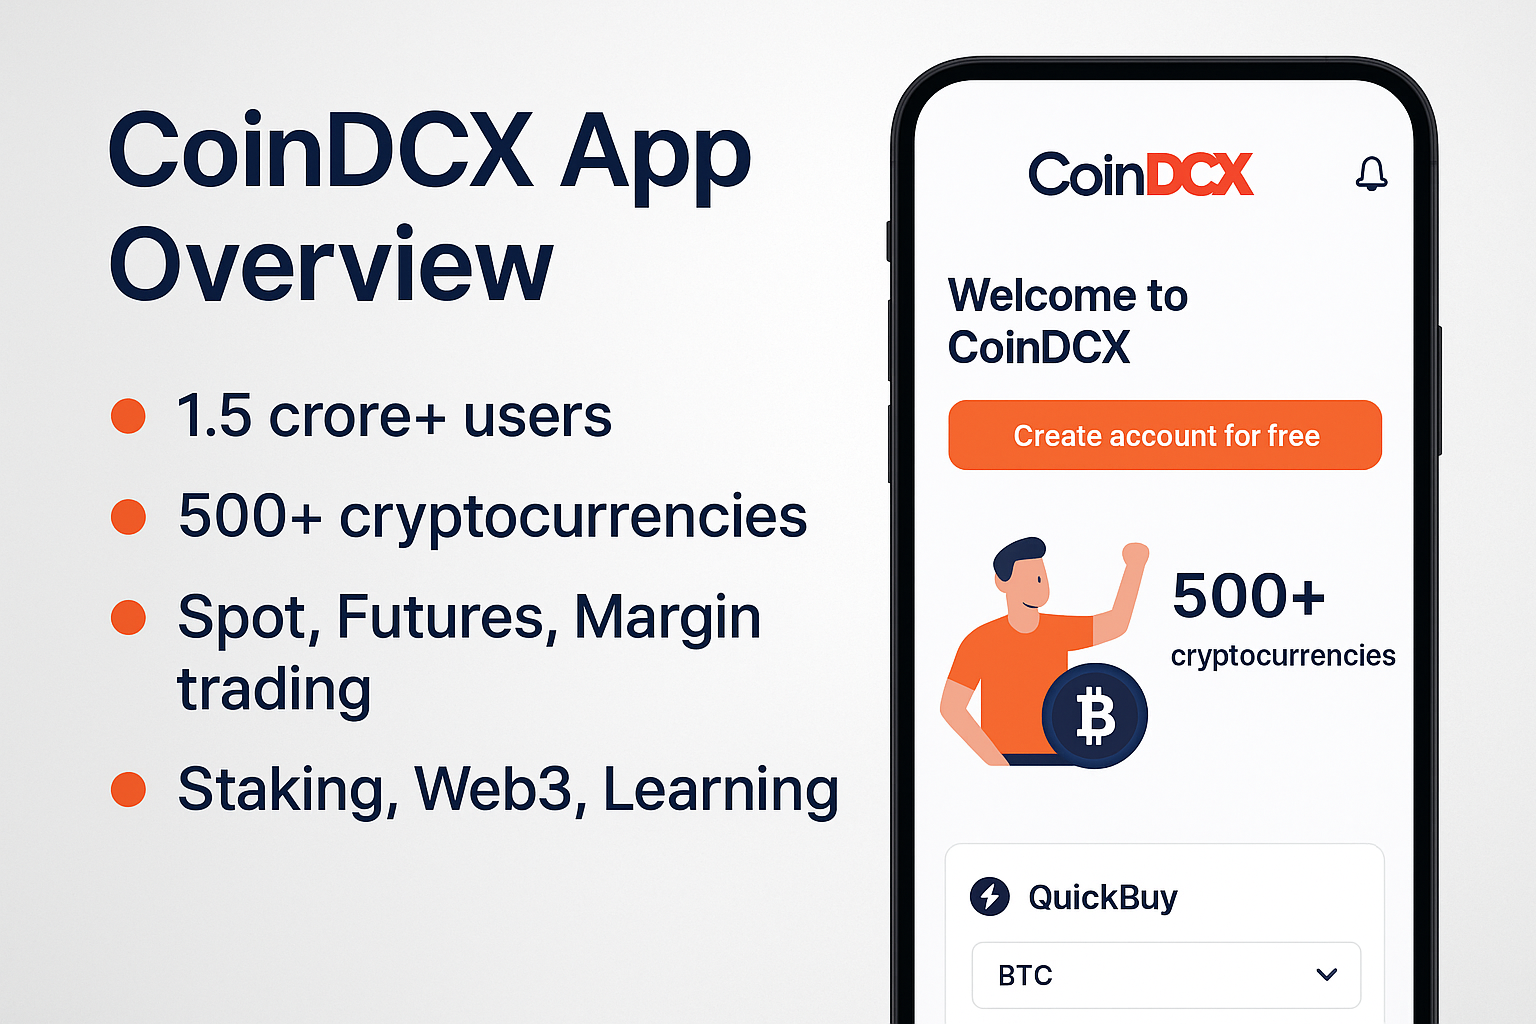
Security and compliance are crucial in the cryptocurrency trading industry. Completing the KYC (Know Your Customer) verification process is one of the most important steps in ensuring a safe trading environment. Before you can start depositing, withdrawing, or making large trades, you will need to complete your KYC if you intend to trade on CoinDCX, one of the leading cryptocurrency exchanges in India. You will learn what KYC is, why it's important, and step-by-step how to complete it on the CoinDCX app and website in this guide.
What is KYC in CoinDCX?
The process by which financial platforms verify the identity of their users is known as "Know Your Customer" (KYC).
CoinDCX requires KYC verification
To Comply with Indian regulatory requirements
Prevent illegal activities, money laundering, and fraud. Ensure the platform is used by genuine traders only
Allow greater access to advanced trading features and higher withdrawal limits. Your account will only have limited access without KYC. For example, you won’t be able to withdraw INR or cryptocurrencies, and you may have restricted trading limits.
Documents Required for CoinDCX KYC Make sure you have the following prepared before beginning: 1. PAN Card, which is required for all Indian users, 2. Aadhaar Card or any other photo ID issued by the government.
3.Information about your bank account (for INR deposits and withdrawals) 4. Selfie (for checking facial features) Pro Tip: Make sure your documents are valid, haven't expired, and the photos are clear. Bad pictures can make it take longer to approve your application.
Step-by-Step Guide to Complete KYC in CoinDCX
You can complete KYC using the CoinDCX mobile app or the website. For both, the steps are almost identical.
Step 1: Create Your CoinDCX Account
You can get the CoinDCX App from the Apple App Store or Google Play. Coindcx.com can also be found on your desktop computer. Click "Sign Up." Enter your email address and create a secure password.
Verify your email by clicking the link sent to your inbox.
Log in to your account.
Step 2: Access the KYC Section
Go to Profile in the app, or tap the account icon in the top right corner. Complete your KYC or look for verification of your KYC. Click Begin KYC.
Step 3: Enter Your Personal Information
Complete the necessary information: Full Name (as per your PAN Card)
Date of Birth
Gender
Residential Address
Pin number and state Mobile Number (linked to Aadhaar)
Check to see that every detail corresponds precisely to your official documents. Even a small mismatch—like a spelling error can cause rejection.
Upload PAN Card in Step 4 Upload a scanned copy of your PAN card or take a clear picture. Ensure:
The entire card can be seen. The photo is not blurry
Name, PAN number, Signature, and Photo are all legible details. Submit.
Step 5: Upload Aadhaar or Other ID
For instant verification, select the Aadhaar Card (recommended). Upload front and back images of the card.
Use a passport, driving license, or voter ID if you don't have Aadhaar. Ensure the document is valid and clear.
Step 6: Selfie Check for Facial Verification You will be asked to take a live selfie by the app. Make certain: Your face can be seen clearly. There is sufficient lighting. You’re not wearing sunglasses or a mask
To align your face, follow the on-screen instructions.
Step 7: Linking Bank Accounts You must link your bank account in order to deposit or withdraw INR: Enter your Bank Name, IFSC Code, and Account Number. Your name must be on the account (matching PAN information). If asked, upload a bank statement or a cheque that has been canceled.
Step 8: Submit for Verification
Before submitting, carefully review each detail. After you've submitted your application, CoinDCX will look over it. When your KYC is approved, you will receive an email confirmation and an app notification.
How long does it take to verify KYC? Instant Verification: If you use Aadhaar + PAN with UIDAI OTP, your KYC can be approved within 15 minutes.
Manual Review: If documents require manual checking, it may take 24–48 hours.
Common Reasons for KYC Rejection
1. Blurry or Cropped Photos Retake with better lighting.
2. Mismatch in Details – Ensure name, DOB, and address match across all documents.
3. Expired Documents – Use only valid, current IDs.
4. PAN or Aadhaar Not Linked to Mobile – Link before trying.
5. If your bank account and PAN don't match, use your own account.
The Advantages of Performing KYC on CoinDCX After the approval of KYC, you can: You can easily deposit and withdraw INR. Trade higher amounts of crypto
Access advanced trading features
Enjoy faster transaction approvals
Increase withdrawal limits up to the platform maximum
Tips for Smooth KYC Approval
Use natural light when taking photos of your ID and selfie.
Double-check spelling of your name and address.
Keep your phone number linked with Aadhaar.
Use images that have been edited or altered digi
tally. Avoid public Wi-Fi during KYC upload for security.
Discussion (0)
Sign in to post your response.